I still remember the absolute dread of hearing my rescue dog whimper whenever the heavy metal clippers came out, leaving us both completely stressed. I spent months searching for a gentler way to maintain her paw health, which eventually led me to build a custom diy dog nail file board to turn grooming into an interactive game. While scratch boards are a fantastic starting point for anxious pups, pairing them with the whisper-quiet Zenpaw Maxpro 3-in-1 Grinder provides the ultimate stress-free routine.
Maxpro 3-in-1 Grinder.
Stress-Free Nail Trimming.
Whisper-quiet DC motor (<40 dB) eliminates fear & discomfort. Features 3 ports, dual speeds, and 7-hour battery life. Safe, precise, and painless.
In This Article
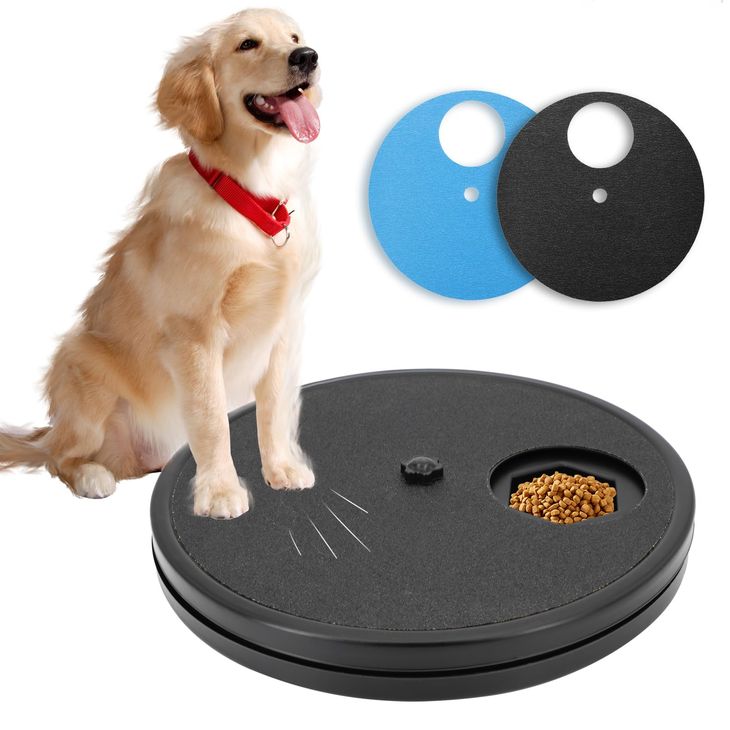
- Step-by-Step DIY Board Construction: Discover the optimal wood, adhesive sandpaper, and safely integrated components to construct a durable scratch pad at home.
- Canine Nail Anatomy and Mechanics: Explore the science behind nail growth, the location of the quick, and how friction naturally keeps claws at a safe length.
- Transitioning from Boards to Electric Grinding: Learn how to safely upgrade your grooming toolkit to manage rear claws and dewclaws using whisper-quiet rotary technology.
- Cooperative Care Behavioral Training: Master positive reinforcement methods that transform intimidating grooming sessions into interactive, rewarding games.
How to Build a DIY Dog Nail File Board with Treats: A Step-by-Step Guide
Prerequisites & Materials You Will Need
Before starting your carpentry project, gather a flat plywood sheet measuring approximately twelve by eighteen inches.
You will also need heavy-duty self-adhesive sandpaper sheets, a sharp utility knife, rubber non-slip backing pads, and a handful of aromatic food rewards.
Ensure your workspace is clean, flat, and well-lit so you can safely assemble all components with precision.
-
Step 1: Select the Perfect Wooden Base
A flat, stable foundation is absolutely essential for your dog’s safety and confidence.
Choose a premium piece of plywood or a thick bamboo cutting board that can support your dog’s weight without flexing.
The ideal dimensions are twelve inches wide by eighteen inches long for medium to large breeds.
Inspect the wood thoroughly to ensure there are no splinters, cracks, or rough edges that could injure sensitive paw pads.
If the wood feels slightly rough, use a fine-grit sanding block to smooth the edges before applying any adhesive.
-
Step 2: Choose the Correct Sandpaper Grit
Selecting the appropriate grit is vital to prevent raw skin or split claws during training sessions.
For large, heavy dogs with extremely thick nails, sixty-grit sandpaper offers the necessary abrasive power.
Medium-sized dogs typically respond best to eighty-grit paper, which balances effectiveness with safety.
For smaller dogs under twenty pounds, choose a gentler one-hundred-grit sandpaper to protect their delicate claws.
Always buy waterproof, self-adhesive aluminum oxide sandpaper sheets, as they last much longer than standard paper.
-
Step 3: Measure and Apply the Sandpaper
Lay your wooden base on a flat work surface and wipe away any lingering dust with a microfiber cloth.
Align your adhesive sandpaper sheets on the board to ensure complete coverage without leaving large wooden gaps.
Peel off the protective paper backing slowly, starting from the top edge of the board.
Press the sandpaper down firmly, using a clean rolling pin or a scraper to smooth out any trapped air bubbles.
Use a utility knife to trim away any excess sandpaper hanging over the edges of the wooden board.
-
Step 4: Secure the Non-Slip Rubber Backing
A sliding board will instantly frighten an anxious dog and destroy weeks of positive behavioral conditioning.
Flip your newly sanded board over to expose the bare, unfinished wooden underside.
Apply thick rubber bumper pads to all four corners of the board using strong construction adhesive.
For maximum stability on slippery hardwood or tile floors, stick a full sheet of non-slip cabinet liner to the bottom.
Test the board on your floor to make sure it remains completely stationary when horizontal pressure is applied.
-
Step 5: Integrate the Reward System
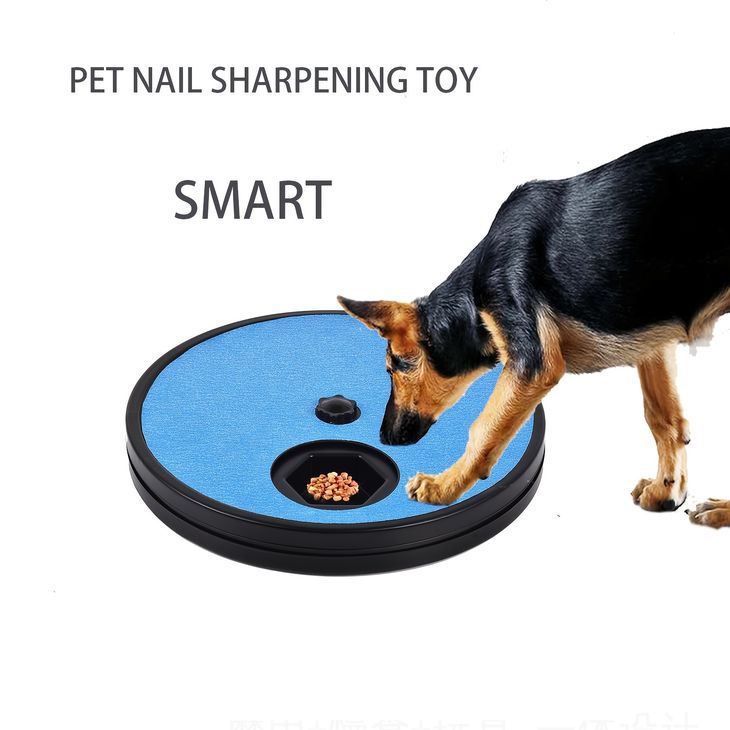
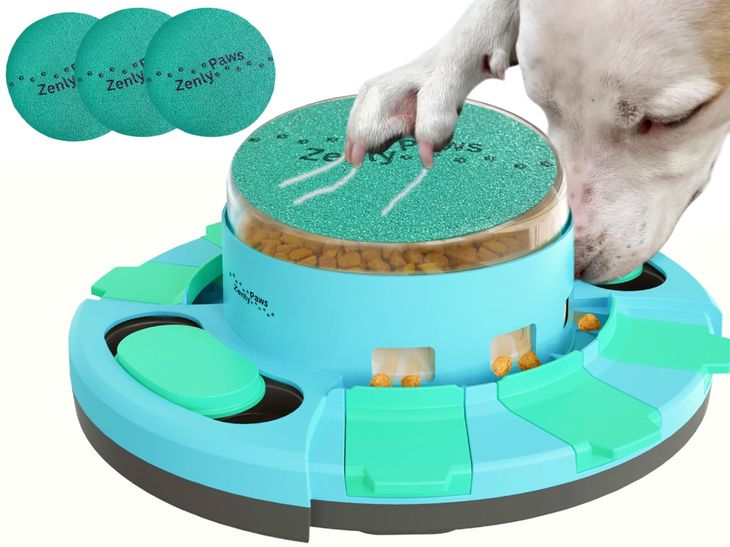
To teach your dog how to use the board, you must create an engaging how to build a scratch board for nails with treats system.
You can attach a small, shallow plastic tray or a wooden ledge to the top edge of the board.
This tray will safely hold small, highly aromatic pieces of dehydrated liver or freeze-dried chicken.
The enticing scent of the hidden rewards naturally encourages your dog to sniff and paw at the board.
Alternatively, you can manually hold the board at a thirty-degree angle while hand-feeding rewards as they scratch.
Enhining Your Grooming Routine with Team Zenpaw
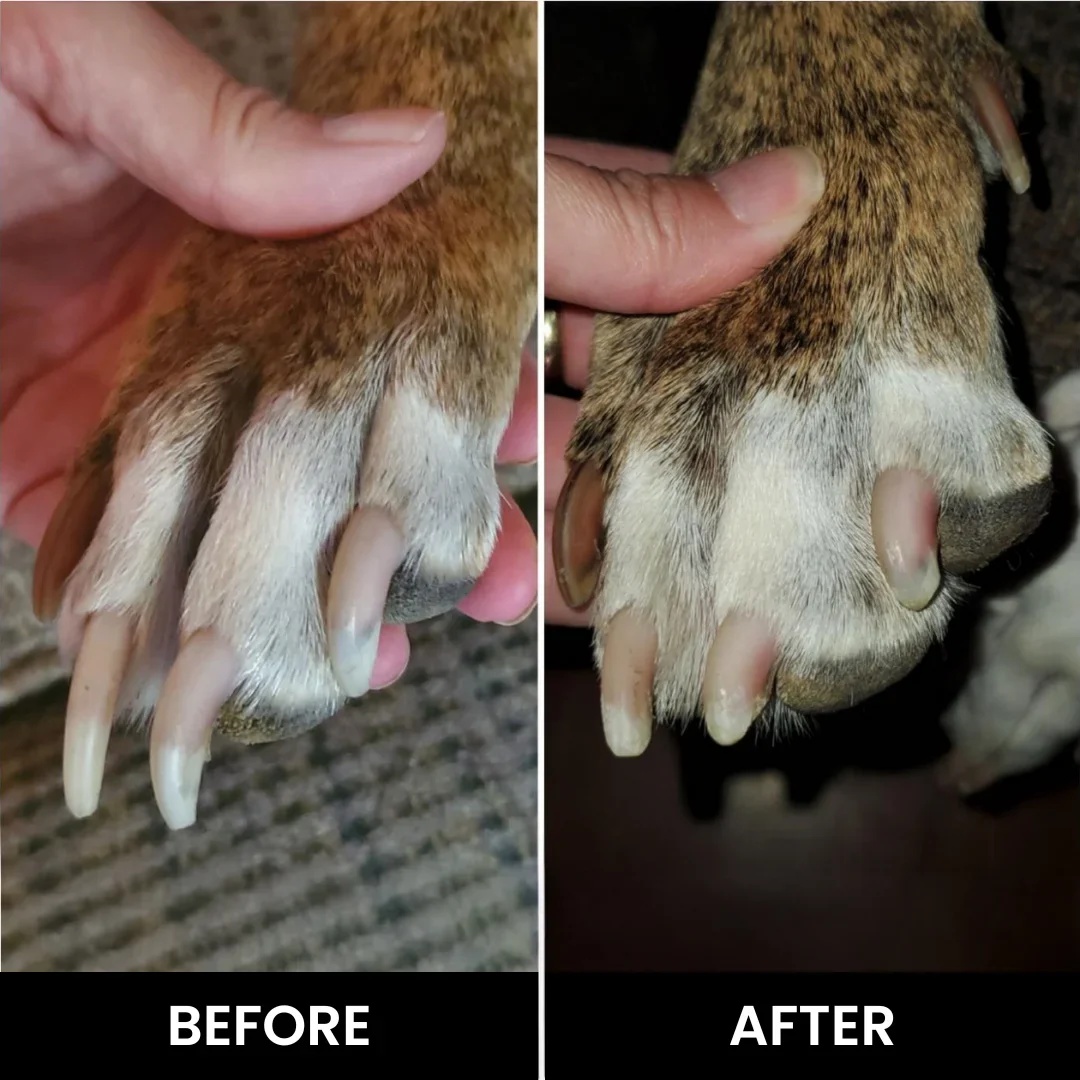
Building a custom wooden dog nail file board is an incredibly creative way to help your dog file down their front claws.
However, hand-built scratch pads are physically incapable of shortening rear claws or managing sensitive dewclaws.
To provide a truly comprehensive, safe, and professional grooming routine at home, we recommend upgrading to our advanced rotary files.
Our whisper-quiet motor operates under forty decibels, ensuring your anxious pet remains completely calm and secure.
Discover how easy professional paw care can be by visiting the official Zenpaw Maxpro 3-in-1 Grinder product page.
99-Day 100% Money-Back Guarantee
“Ever since we started using the Zenpaw Maxpro Grinder, it’s been such a peaceful experience. It’s very quiet, and my dog actually relaxes. It’s turned our stressful sessions into quick, quiet grooming times.”
— Sarah M. | ✔ Verified Customer
- ✓ Prevents Infection & Splitting
- ✓ Ideal for All Dog Sizes
- ✓ Low-Vibration Technology
- ✓ Fast 2-7 Days Delivery
Need Support? Call 302-307-1000
Understanding Canine Nail Anatomy: Where is the Quick?
Understanding the physiological structure of your dog’s claw is the single most important step in home grooming.
Canine claws consist of a hard outer shell composed of tough keratin proteins and a highly sensitive inner vascular core.
This soft inner core is widely known as the quick, and it houses live blood vessels and microscopic nerve endings.
If you clip too deeply, you will slice directly into these nerves, causing intense pain and immediate bleeding.
To avoid this traumatic experience, you must learn exactly what is the spot to cut a dogs nail before pick up any tool.
On light-colored nails, the quick is easily visible as a soft, pinkish column extending down the center of the claw.
On dark or black claws, the quick is completely masked by heavy melanin pigments, making visual identification almost impossible.
This lack of visibility is why so many dog parents experience severe anxiety when using traditional cutting tools.
A custom diy dog nail file board provides a beautiful alternative by letting your dog control the abrasive pressure.
As the dog actively swipes their paws across the sandpaper, only the dead outer keratin layer is gently polished away.
This incremental wear allows the quick to safely recede back toward the paw bed over time.
With patient training, you can easily maintain short, healthy nails without risking painful structural injuries.
The Science of Clipper Pressure vs. Gentle Grinding
Many dog parents do not realize that standard steel clippers apply intense crushing pressure to the entire nail structure.
This powerful mechanical squeeze can cause microscopic fractures to spread vertically up the hard keratin shell.
These hairline splits often lead to painful nail breakage, painful snags on carpets, and eventual bacterial infections.
When analyzing the benefits of cutting vs grinding dog nails, professional groomers overwhelmingly favor high-speed grinding.
Grinding safely wears down the claw atom-by-atom, creating a perfectly smooth, rounded edge that cannot snag or split.
If you use outdated clippers and cut too deep, you will immediately need to know how to stop dog toenail bleeding using styptic powder.
By utilizing the Zenpaw Maxpro 3-in-1 Grinder, the risk of nicking the blood vessel is practically reduced to zero.
The dual-speed motor allows pet parents to gradually file the tip down with micro-metric control and complete confidence.
Our durable diamond-bit grinding wheels never wear out, providing a lifetime of safe, smooth grooming sessions.
Behavioral Psychology: Cooperative Care and Self-Filing
Forced physical restraint is one of the primary causes of severe veterinary and grooming phobias in dogs.
When a dog is pinned to the ground for a nail trim, their biological fight-or-flight response is instantly triggered.
Over time, this intense fear can make home grooming feel like an exhausting, dangerous battle for both pet and parent.
To bypass this stress, many owners spend hundreds on a in home dog nail trimming near me to let professionals handle the struggle.
These premium mobile grooming appointments are expensive and do not solve the underlying behavioral fear.
An interactive scratch board utilizes the modern principles of cooperative care to reshape this psychological association.
Cooperative care empowers your pet by giving them complete control and choices over the physical grooming process.
Instead of being forcefully held, your dog actively chooses to interact with the board to earn high-value food rewards.
This sense of agency transforms an intimidating task into a highly stimulating, fun game that boosts mental health.
By encouraging positive, voluntary behaviors, you build a deep, unbreakable foundation of trust with your canine companion.
Practical Application Guide: Transitioning to the Zenpaw Maxpro Grinder
While a DIY scratch pad is a fantastic tool, it is physically limited to filing the central claws of the front paws.
The rear claws and the protective dewclaws are positioned at angles that cannot make contact with a flat floor board.
To safely manage these remaining claws, you must eventually transition your pet to a high-precision electric rotary file.
Start this transition slowly by placing the turned-off Zenpaw Maxpro Grinder next to their favorite sleeping area.
Place a few highly appetizing dehydrated treats on top of the device to build a calm, curious association.
After a few days, turn the device on its lowest speed setting while holding it a few feet away from your pet.
The Zenpaw Maxpro is engineered with a whisper-quiet motor that registers below forty decibels to protect sensitive ears.
Feed your dog continuous rewards while the quiet hum plays, proving that the sound poses absolutely no threat.
Next, touch the vibrating body of the quiet grinder gently to your dog’s shoulder to accustom them to the physical sensation.
When you are ready to file a claw, hold the paw firmly but gently to prevent sudden, startled movements.
Always align the grinding wheel at a precise forty-five-degree angle to the natural curve of the keratin nail.
Apply the rotating head to the claw tip in brief, gentle bursts lasting no longer than two to three seconds each.
This pulsing technique prevents any heat buildup on the nail bed and ensures a completely painless experience.
Always reward your pet with enthusiastic verbal praise and a delicious snack after successfully finishing each toe.
Avoiding Common DIY Pitfalls and Grooming Risks
One of the most common mistakes pet parents make is rushing their dog’s training before the behavior is fully understood.
If you encourage excessive, frantic scratching, your dog may scrape their sensitive paw pads raw on the coarse sandpaper.
Always inspect the board carefully to ensure the abrasive paper is flat and cannot catch on loose skin.
Furthermore, never resort to using dangerous household tools to trim overgrown claws in a moment of desperation.
Many frustrated owners ask, can you cut dog nails with wire cutters?
The answer is an absolute, definitive no, as wire cutters lack the proper circular shape to cut safely.
These flat blades will violently crush the nail flat, causing severe structural damage, intense pain, and painful splitting.
Using a dedicated, veterinarian-approved rotary tool like the Zenpaw Maxpro is the only safe way to round out nails.
Our specialized cooling diamond bit prevents overheating and provides a incredibly smooth, splinter-free finish.
Always prioritize patience over speed, and always stop the grooming session the moment your dog displays signs of fatigue.
Frequently Asked Questions about DIY Boards and Grinders
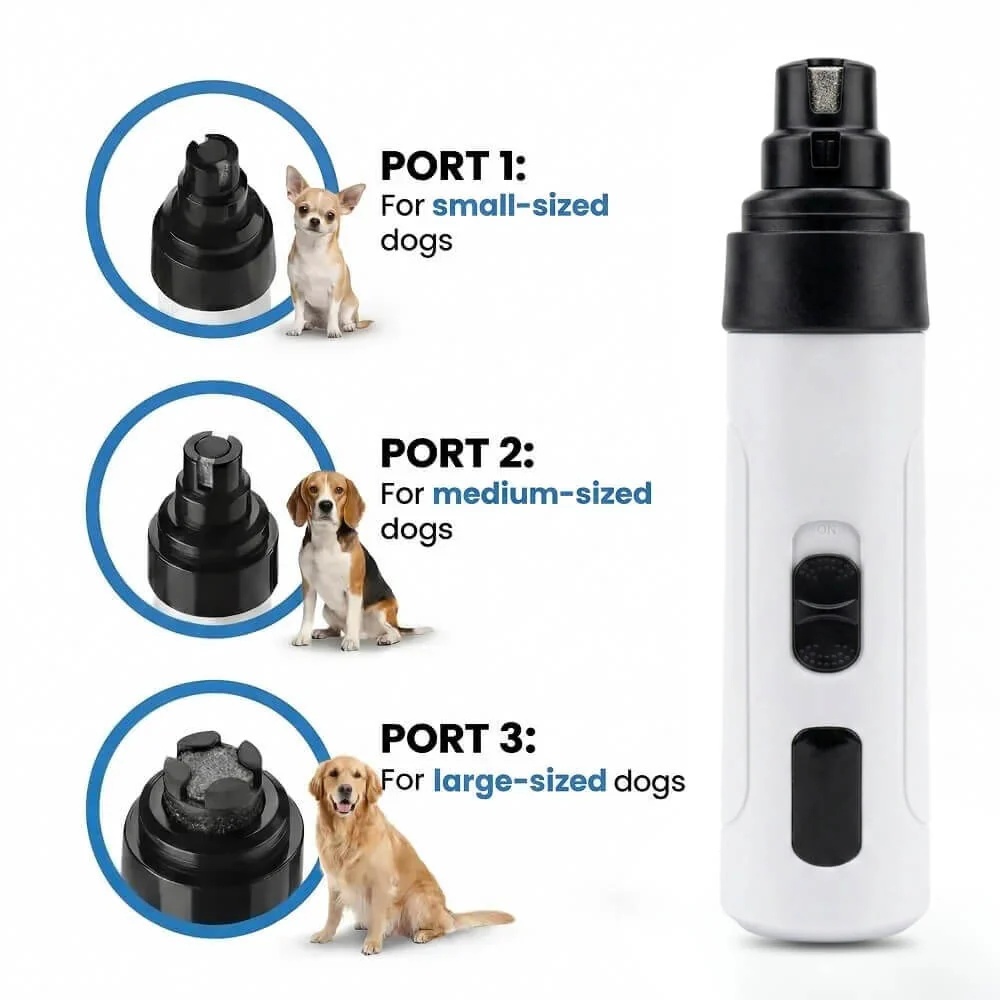
Is the Zenpaw Maxpro Grinder safe for large, giant-breed dogs?
Yes, our heavy-duty grinder features three specialized ports designed to safely accommodate all canine breeds and sizes.
The small and medium ports are perfect for delicate puppies and toy breeds that require ultra-fine control.
For large breeds like Great Danes or Mastiffs, you can remove the protective cap to expose the entire diamond wheel.
This allows you to safely and efficiently file down the thickest, most stubborn claws in just a few minutes.
How long does the rechargeable battery last on a full charge?
The Zenpaw Maxpro is powered by a high-capacity, rechargeable lithium-ion battery that is built for maximum longevity.
A single full charge provides up to seven hours of continuous, whisper-quiet grooming power.
You can easily recharge the device using the included USB cable connected to any laptop or wall adapter.
This extensive battery life ensures you never have to worry about the device dying mid-session with an anxious pet.
What speed setting is best for a highly anxious dog?
We strongly recommend starting on our lowest speed setting to allow your dog to adjust to the physical sensations.
Our low-speed setting minimizes vibration and sound, making it incredibly tolerable for sensitive, fearful animals.
Once your dog remains fully relaxed, you can easily toggle to the high-speed setting for more rapid file work.
Always alternate between speeds based on your dog’s comfort levels and the thickness of the target nail.
Does the grinding wheel get hot during extended grooming sessions?
Standard brass grinders can heat up rapidly due to friction, causing a painful burning sensation on the live quick.
The Zenpaw Maxpro utilizes advanced diamond-bit technology designed to remain cool under continuous use.
This low-heat design protects the delicate nerve endings inside the nail from thermal discomfort and irritation.
However, we still advise moving from nail to nail every few seconds to ensure a completely pleasant experience.
Conclusion: Your Path to Stress-Free Paw Wellness
Ready to transform nail trimming from a battle into a breeze?
Explore the Zenpaw Maxpro 3-in-1 Grinder.
Call: 302-307-1000 — our team can help you advise on the best grooming practices and help with any product questions.